Friday, January 31, 2014

Bleached Tree-Stump Tables


 One day last summer while out and about, my husband and I came across a few tree stumps on the side of the road.  We chose stumps with the least damage and loaded them into our vehicle and made our way home.

What I loved most about the stumps was that the bark was already removed; also a good sign that they were dry.  But just to be safe we kept them outside for many months on our covered porch to dry completely.

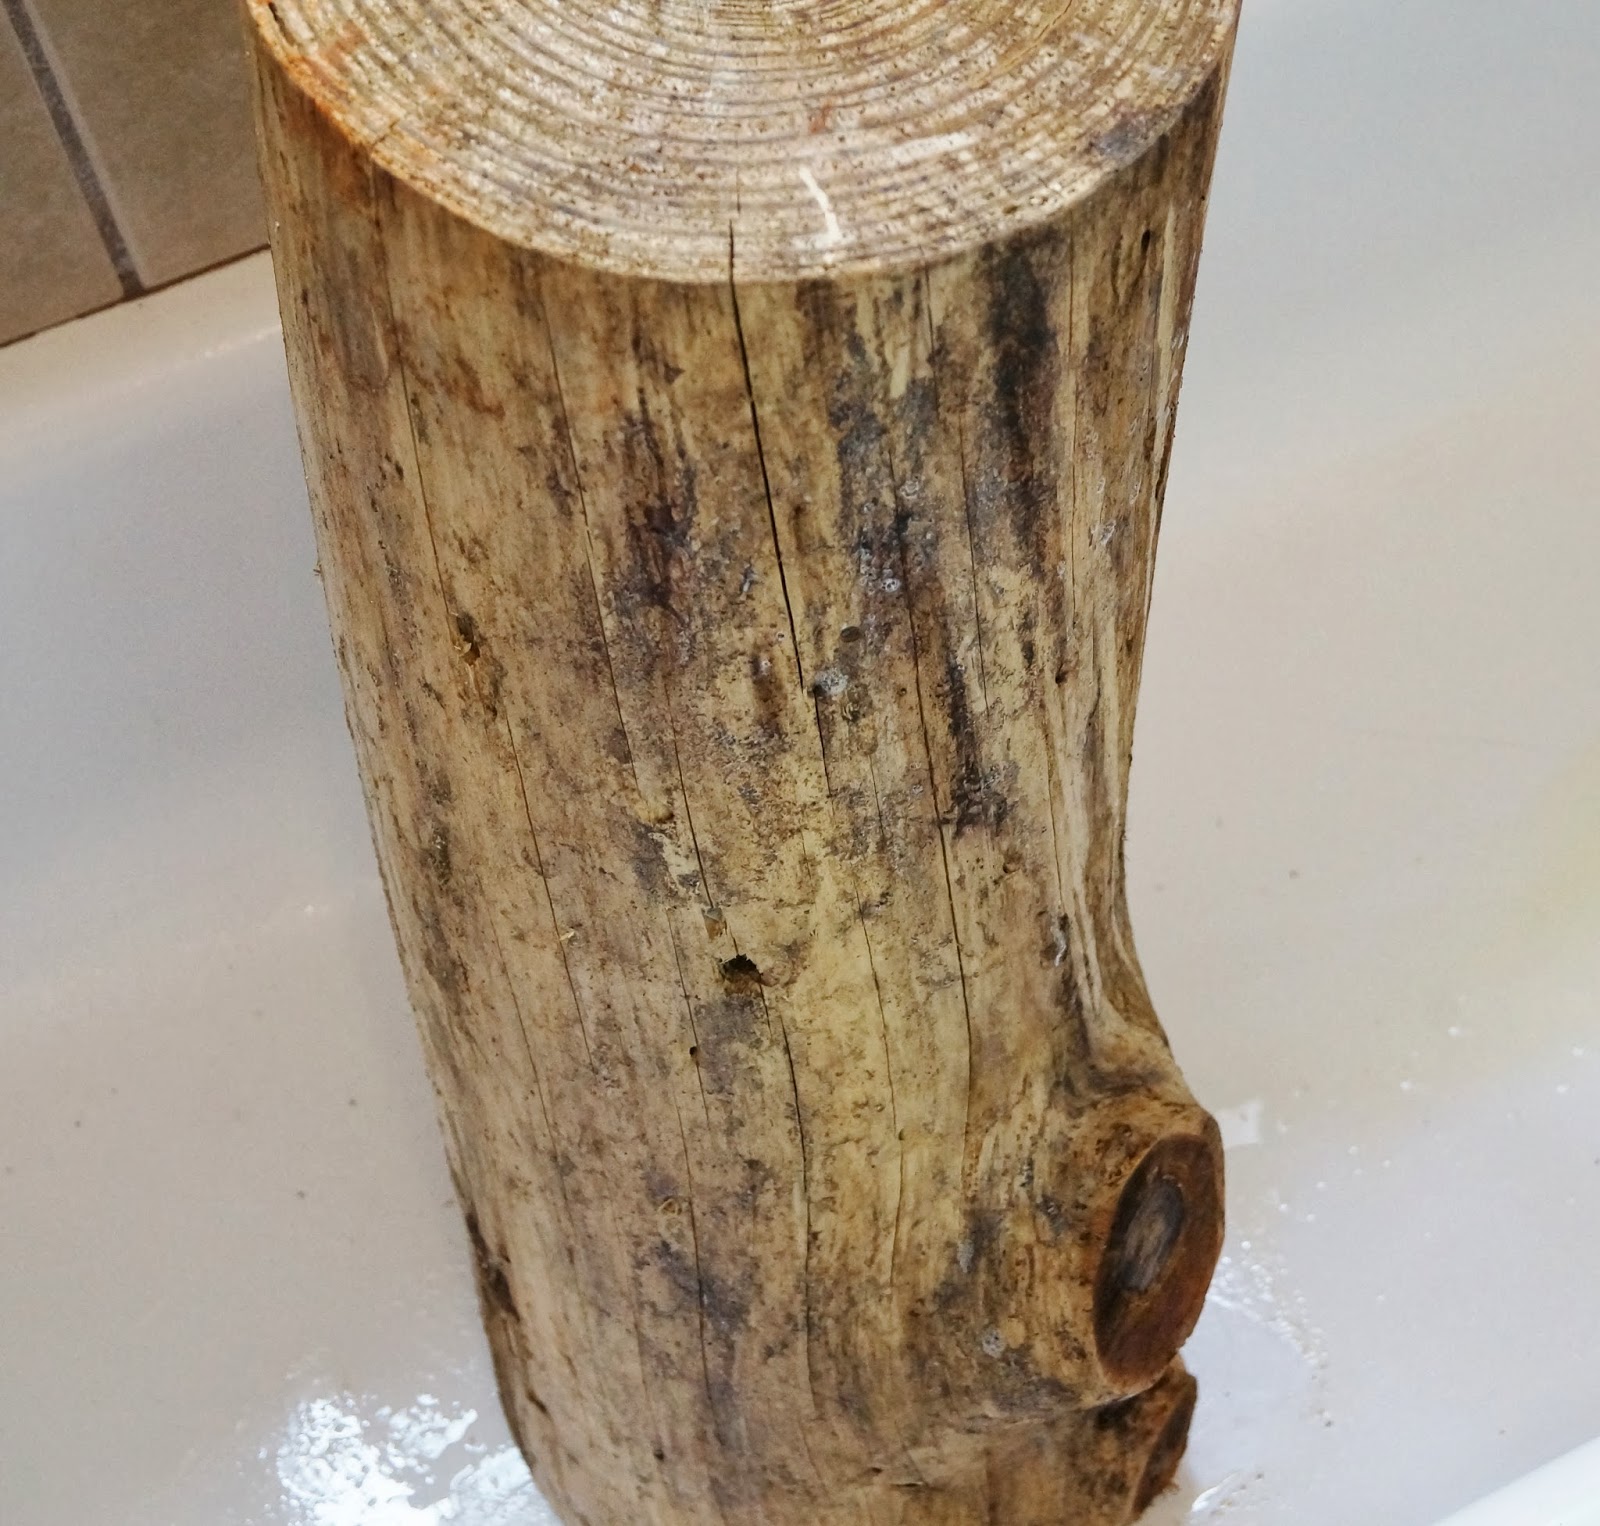
At this point the stumps were pretty gross- covered in slime and Georgia-red clay.  They needed a good cleaning!  My first thought was to wipe off as much as I could with a damp rag and sand the rest, but considering their condition I didn't think that would get them clean enough.

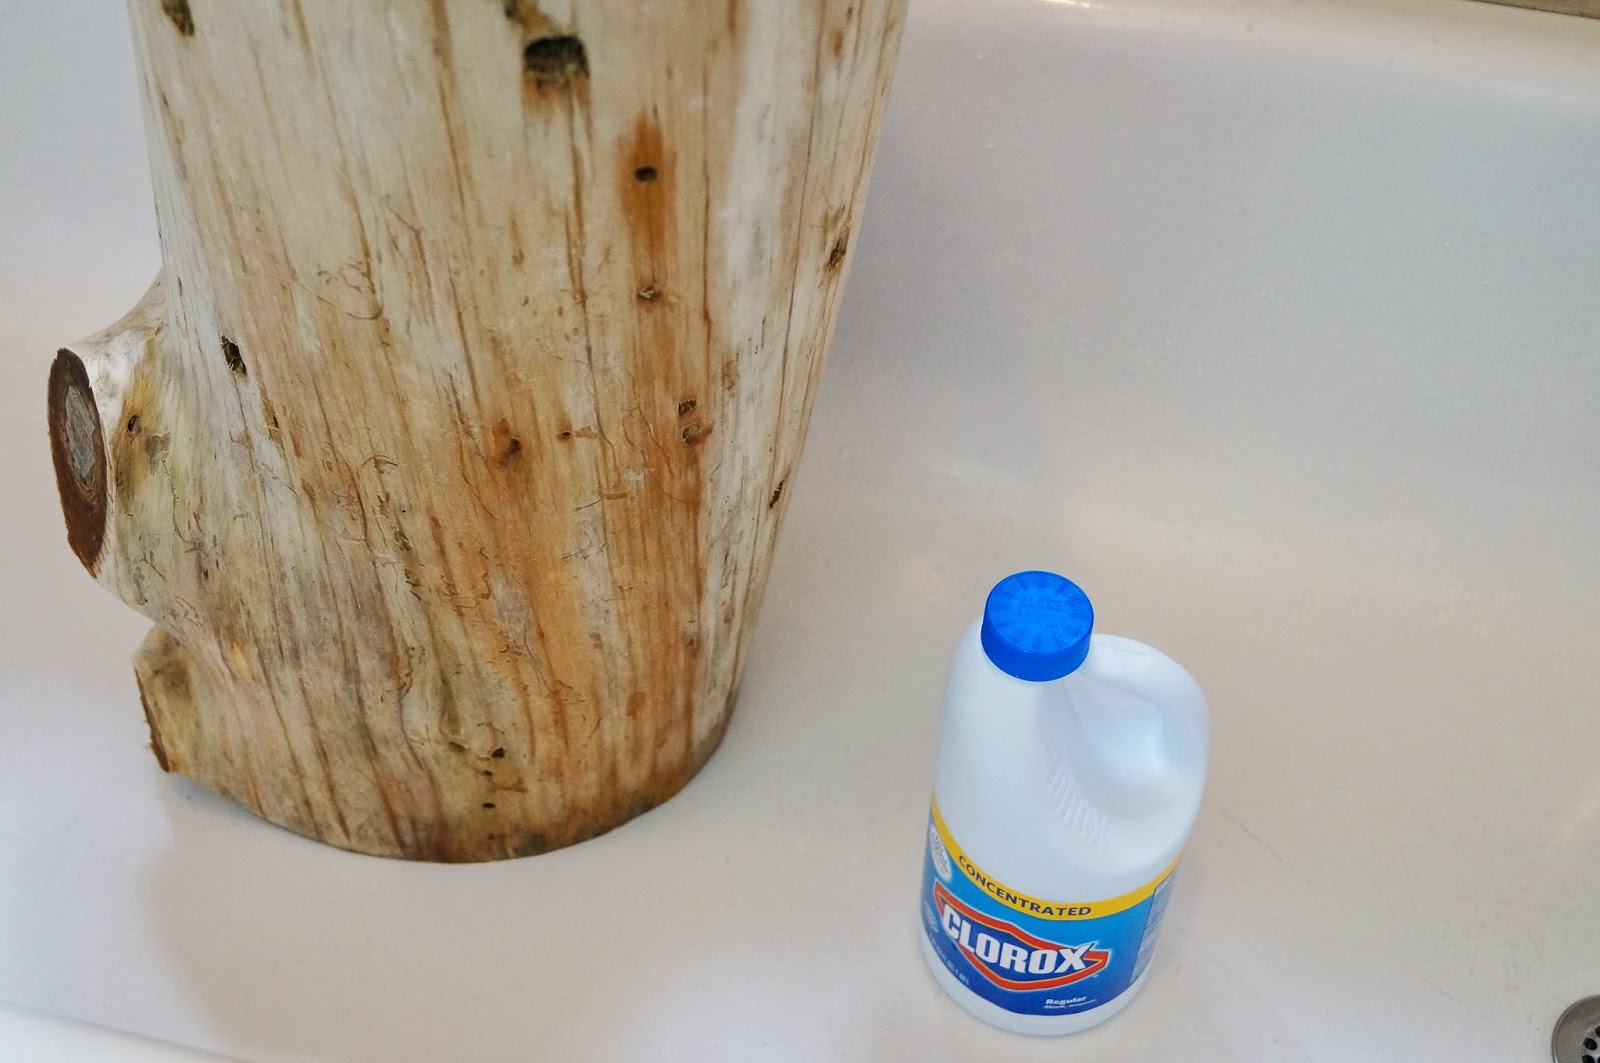
I decided to have  my husband carry them upstairs so I could give them a bleach bath.  Bleach cleans everything right?!

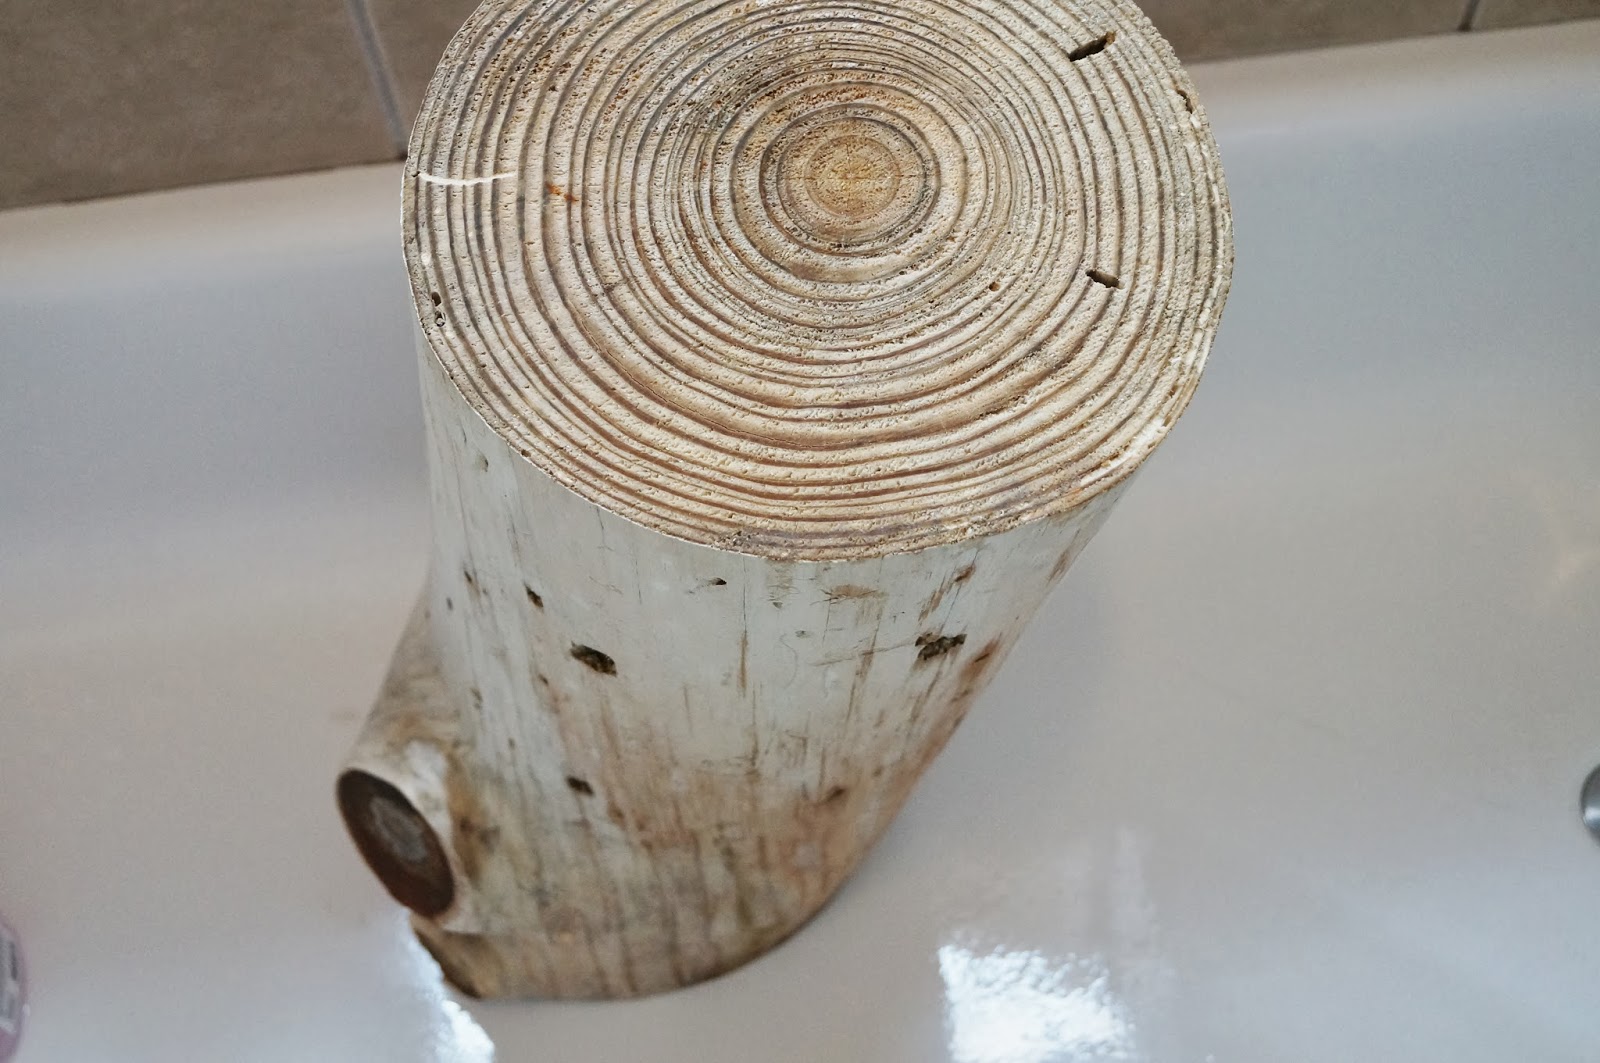
I was really nervous I would damage the wood, but decided to try anyway.  And guess what, it worked!  I poured concentrated bleach over each stump and scrubbed the debris off with a scrub brush and soapy water.  I allowed the stumps to dry outside for few days, while I decided what to do next.  I thought about staining them like I did in the past, or giving them a fresh coat of paint.  I loved them in their natural state best and decided to leave them as they were.

I couldn't be more pleased with the results!

The knots give the stump so much character.

My guess is that the holes in the stumps are from woodpecker damage.


I see them a lot in our backyard pecking at our trees too.


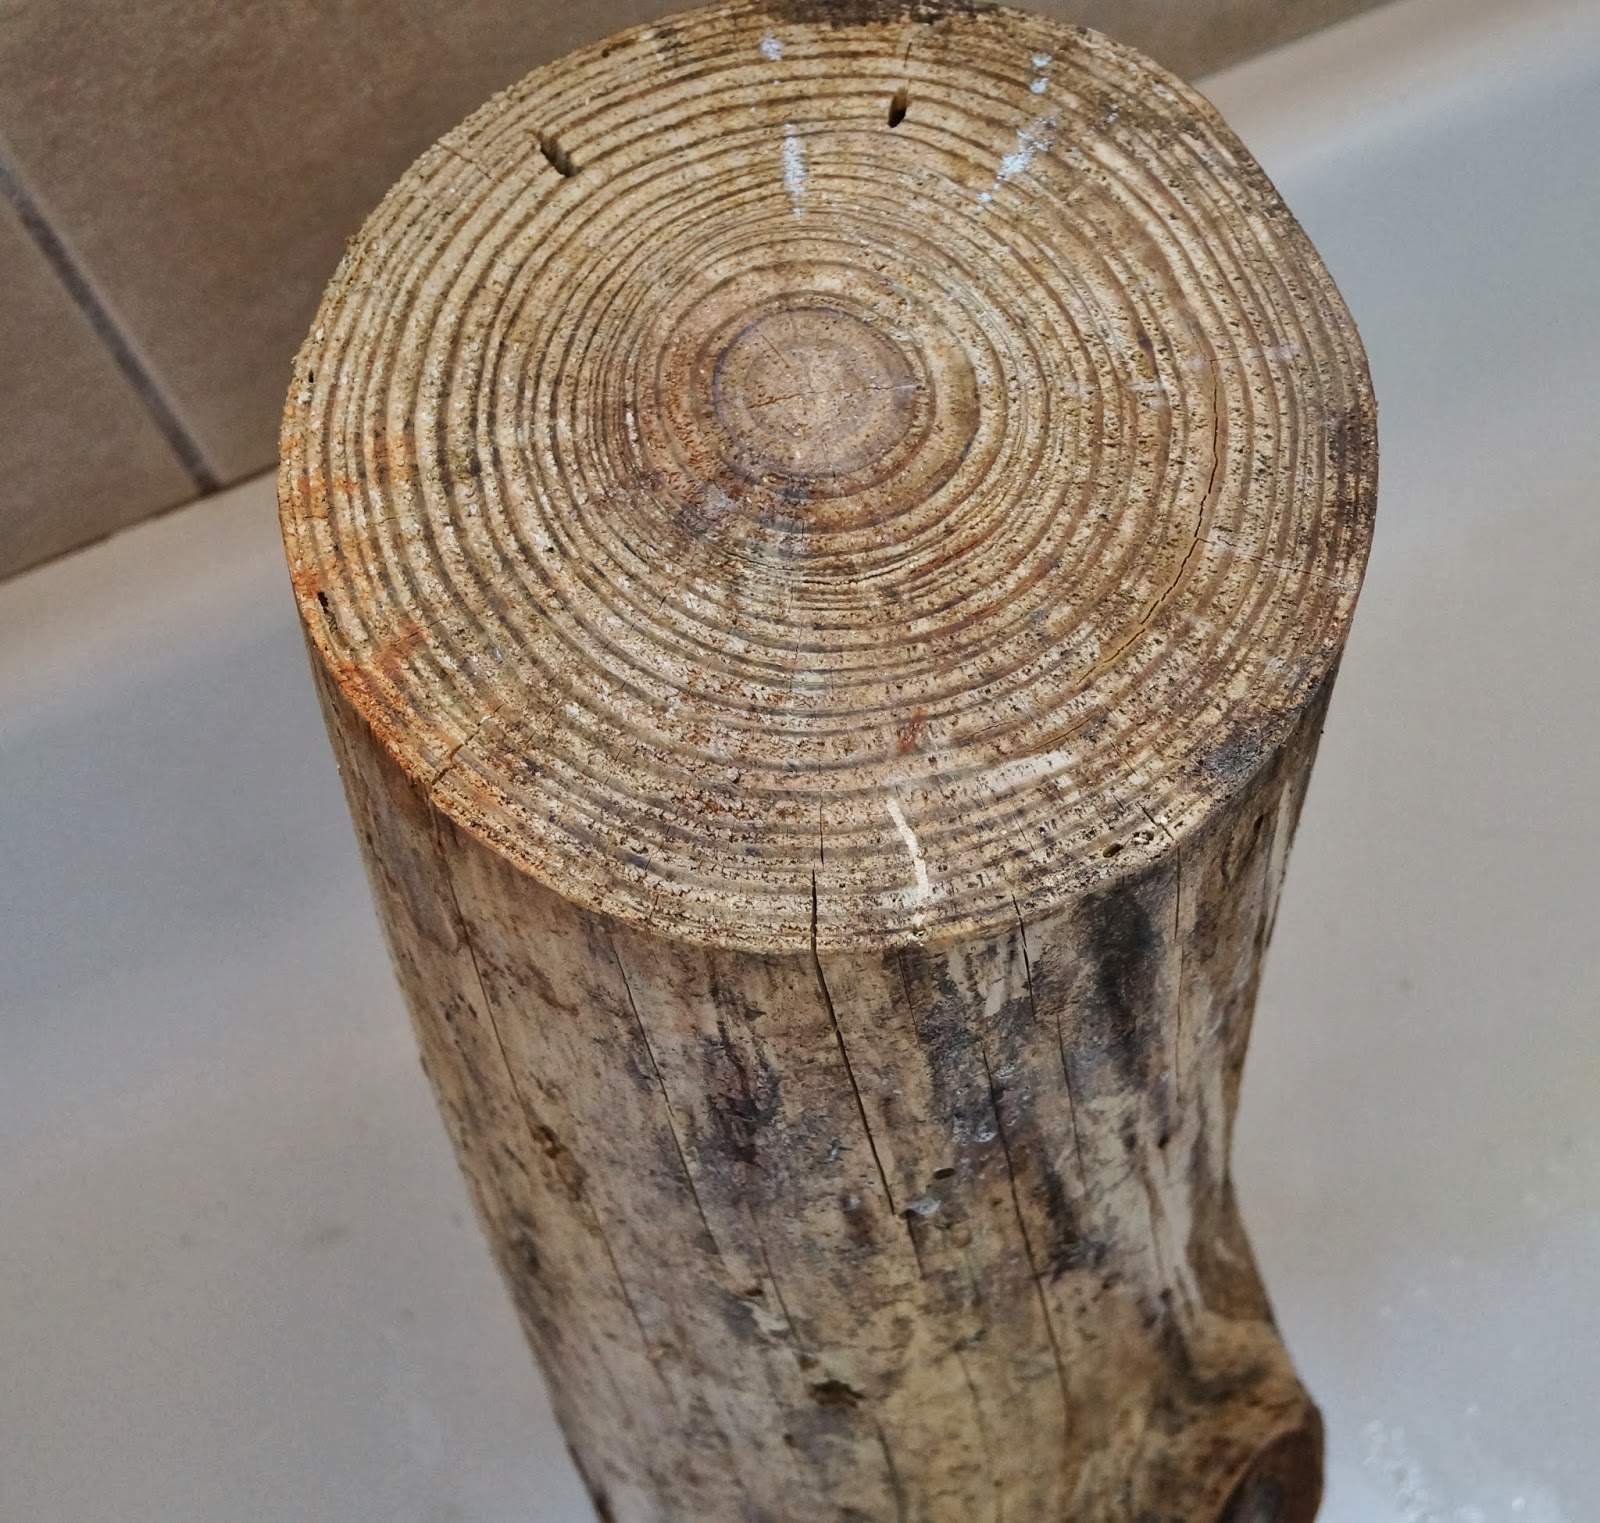
As a final step, I did sand the tops smooth using my Dremel.  I thought about sealing them with a clear coat of Polycrylic, but I'm nervous about them yellowing over time.  Also I don't want them to appear glossy or shiny.  I may decide later to just coat the tops.  I'm certain bleach took care of any lingering critters!


Even without sanding, the body of the stumps are still very soft and smooth.

The annual rings of the tree are clearly visible.


The pieces weren't cut straight, but I don't mind one bit.  That's another characteristic that I love.

I skipped adding legs or wheels, but I do plan to add furniture glides so that air can circulate underneath them.  

I hope you're inspired to turn a tree stump into a beautiful piece of furniture.


I am linking this post to:
Persia Lou
By Stephanie Lynn
Work it Wednesday

Monday, January 27, 2014

Roasted-Garlic Cheddar Biscuits

I love roasting garlic slowly in the oven.  The kitchen smells amazing; like garlic potpourri!  I'll usually roast a few heads at a time.  They're great to have on hand for recipes.

The skin will easily come away from the garlic clove.

My dogs get all excited when they smell the garlic roasting.  Sasha joined me to see what I was up to!

We were having white-bean stew for dinner so I decided to bake some biscuits to serve with our meal.

The roasted garlic added a great flavor to the biscuits, not an overpowering garlic flavor.

My husband and kids thought they were very good and similar in taste to the ones served at Red Lobster.

The biscuits were delicious, our breath- not so much!  After dinner, be sure to pop a piece of gum in your mouth!!

Ingredients
2 1/2 cups Bisquick baking mix 
3/4 cup cold buttermilk 
4 tablespoons cold butter plus 2 tablespoons 
1 head of roasted garlic, cloves carefully removed from their skins 
1 heaping cup grated cheddar cheese
 1/2 tsp salt salt 
1/4 teaspoon dried parsley flakes 


Directions 
1. Preheat oven to 400 degrees.  Prepare baking sheet with cooking spray or line with parchment paper 2. Combine Bisquick with cold butter in a medium bowl using a pastry cutter or a large fork  3. Add cheddar cheese, milk, garlic and salt 4. Mix dough by hand until combined; be careful not to over mix 5. Shape the dough into biscuit-sized clumps and drop onto the baking sheet 6. Bake for 10 to 12 minutes or until the tops of the biscuits begin to turn light brown 7. Remove biscuits from the oven and melt 2 tablespoons of butter in a microwave-safe bowl. 8. Use a brush to spread butter over the tops of the biscuits, then sprinkle tops with dried parsley flakes.  Enjoy while still warm! Makes one dozen biscuits

Recipe adapted from: Hibiscus House


I am linking this post to: 
By Stephanie Lynn
Tip Junkie
The Comforts of Home

Wednesday, January 22, 2014

Ch-Ch-Changes

Hey Guys!  I thought I'd pop in and give you an update on a few changes I've been making in the house.  As the new year rolled in, I decided I was going to spend my spare time fixing up the place.  I grew tired of the golden-yellow walls in the living/dining room and decided to paint them a fresh, neutral color.


After going through a few samples, I chose Revere Pewter by Benjamin Moore- matched to Glidden Duo paint.


I love the new color so much!  It's reading a bit darker in pictures, but it's a perfect gray/taupe combination.

I'm so excited to redecorate and I can't wait to share with you!  But the process will be slow as I plan to take my time and think through my ideas.

I also gave a fresh-new look to our old-bathroom vanity.

I painted the walls, Flint Smoke by Behr paint.

It's amazing what a couple coats of paint can do.  I love the way the hardware looks against the black vanity.  I have a few accessories on the way, then I'll be back to show you the full reveal. 

So what have you been up to this week?  Any paint projects in your future?


I am linking this post to: Savvy Southern Style